Description
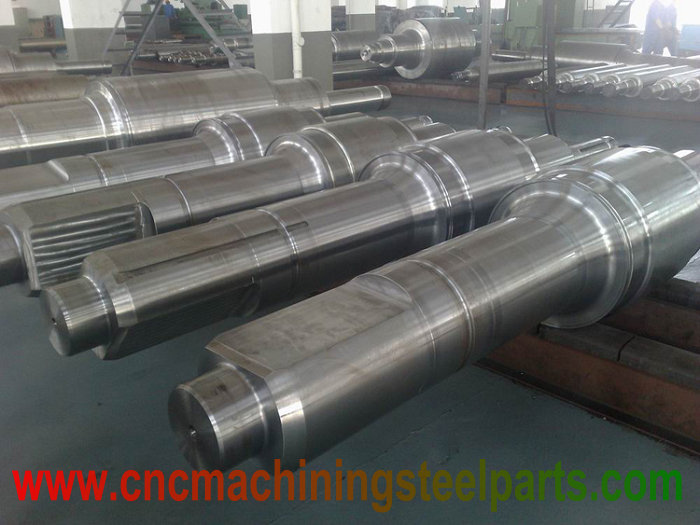
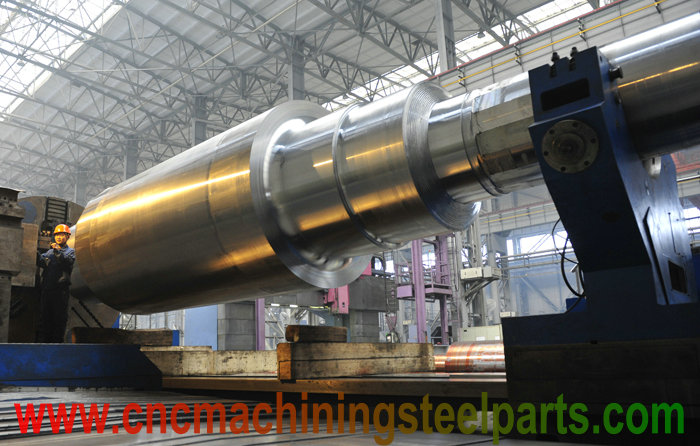
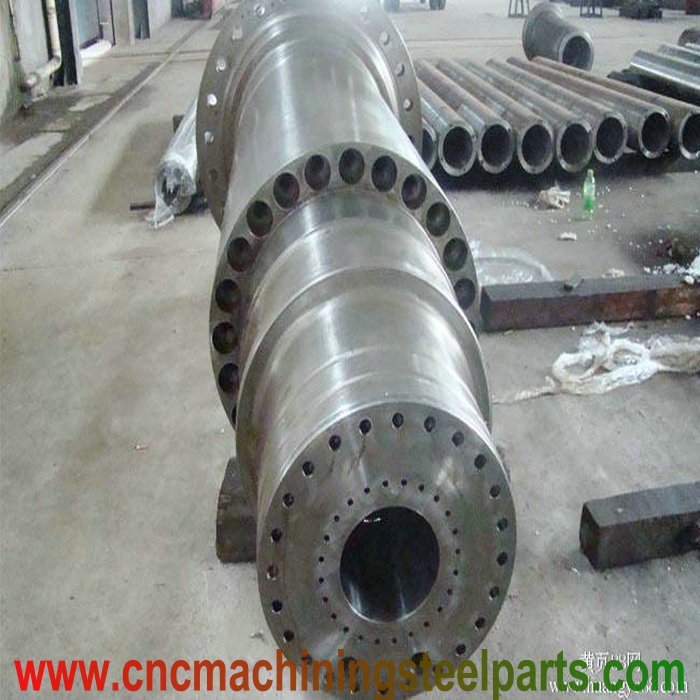
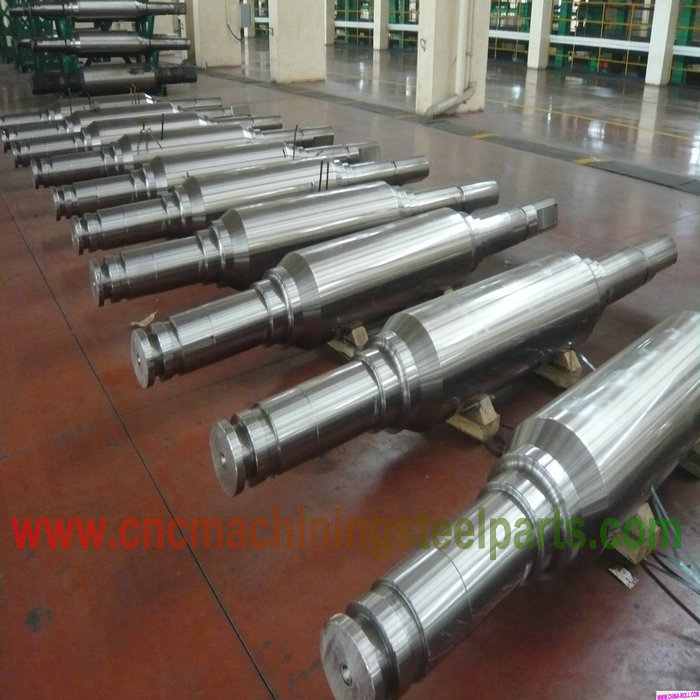
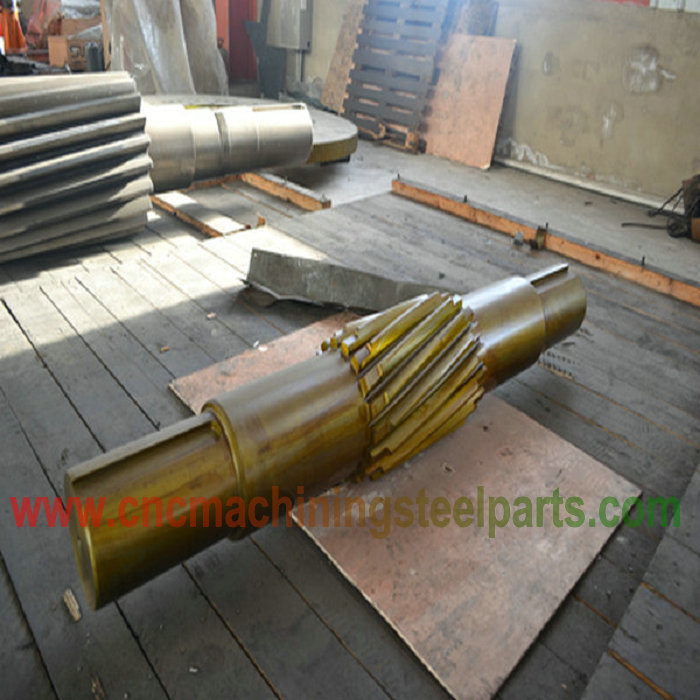
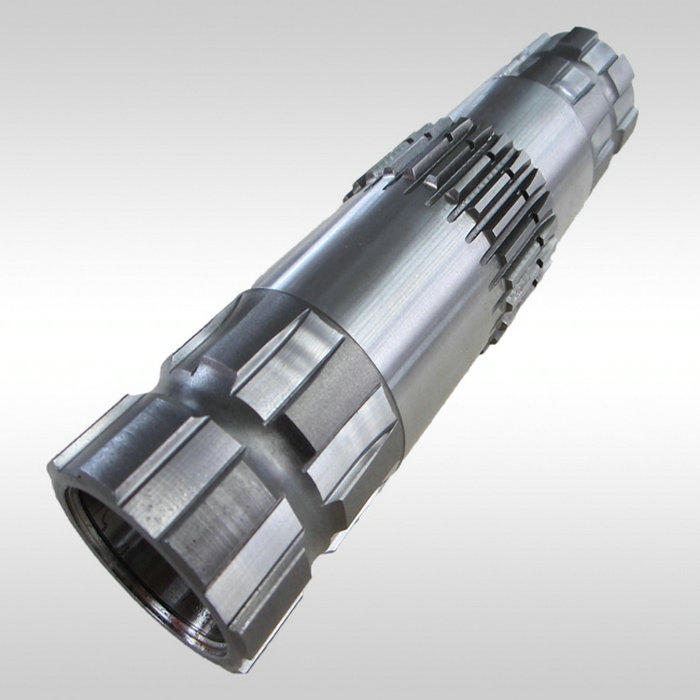
Forged Steel Arbor ( CNC Machining Spindle Mandril , Cast Steel Mandrel ) Is Used To Support Rotating Parts, Which Only Bear Bending Moment But Do Not Transmit Torque. Some Spindles Rotate, Such As The Axles Of Railway Vehicles, And Some Spindles Do Not Rotate, Such As The Axles Supporting Pulleys. According To Whether The Spindle Rotates Or Not, The Spindle Can Be Divided Into Rotating Spindle And Fixed Spindle.
Rotating Mandrel: When Working, The Bearing Is Subjected To Bending Moment, And The Shaft Rotates.
Fixed Spindle: When Working, The Bearing Is Subjected To Bending Moment, And The Shaft Is Fixed.
According To The Role Of The Shaft And The Load It Bears, It Can Be Divided Into Mandrels, Rotating Shafts And Transmission Shafts.
Mandrel: Only Bear Bending Moment But Not Transfer Torque;
Rotating Arbor: Not Only Bears Bending Moment But Also Transmits Torque.
Spindle Mandril : Only Transfer Torque Without Bearing Bending Moment, Or Bending Moment Is Very Small.
Simple Classification
Commonly Used Spindles Are:
1, Small Taper Mandrel, Small Taper Mandrel Positioning Accuracy Is Higher. But It Is Not Convenient To Load And Unload The Workpiece With Small Taper, And The Workpiece Can Not Be Positioned Axially, So It Is Only Suitable For The Workpiece With Small Batch, High Accuracy And No Requirement Of Positioning Axially.
2, The Step-Type Mandrel With Nut Compression Is Suitable For Clamping Multiple Workpieces And The Occasion Where The Accuracy Requirement Of Workpiece Is Not Too High.
3, The Expanding Mandrel Is Suitable For Sleeve Parts With Larger Aperture Tolerance Because Of Its Convenience In Loading And Unloading Workpieces And High Accuracy.
Machining Process Of Spindle
Because The Parts Are Simple In Structure, Small In Size, With Step Shafts, High In Mechanical Properties, High In Precision And Large-Scale Production, Die Forgings Are Selected, Which Have Small Machining Allowance, Good Surface Quality, High Mechanical Strength And High Survival Rate. The Material Of The Workpiece Is 45 Steel, And The Dimensional Accuracy Of The Blank Is It11-12 Grade.
1, Material Preparation And Blanking: 45 Steel, 35 Mm, 125 Mm.
2, Fixter: Straightening, Full Length Bending Less Than 0.2 Mm.
3, Heat Treatment: Normalizing And Tempering.
4, Vehicle: Vehicle End Face, Drilling Center Control Total Length Is 200 Mm.
5, Rough Car: Double Top Clamping, Rough Car 6 Steps, Length To Meet The Size Requirements, Step Diameter Left 2 Mm, Inverted 2 Rounded Corners.
6, Precision Car: Precision Car Has 6 Steps, With 0.3 Mm In Diameter.
7, Clamp: Draw Keyway.
8, Milling: Milling 2 Keyways, The Keyway Depth Is 0.2 Mm Larger Than The Drawing As The Cylindrical Grinding Allowance.
9, Clamps: Straightening, The Beating Degree Of The Outer Circle Is Less Than Or Equal To 0.15mm.
10, Grinding: Grinding All Parts Of The Outer Circle To The Drawing Size.
11, Inspection
Spindle Machining
Structural Analysis
The Part Structure Is Shown In The Figure, Including Cylinder, Cone, Elliptical Ball Head, Inner Hole And Inner Thread. In Data Turning, The Structural Shape Of Turning Parts Is Not Complex, But The Dimensional Accuracy Of Parts, Especially The Geometric Accuracy Of Parts, Is Required To Be Very High. Several Diameter Sizes Have Strict Dimensional Tolerances And Surface Roughness Values.
Machining Accuracy
In Nc Turning, The Important Radial Processing Parts Are: 44 Cylindrical Section, 28 Cylindrical Section In The Middle Of The Part, Precision And Surface Roughness Requirements, 38 Cylindrical Section At The Left End Of The Part, Inner Hole With Depth Of 29.5mm And Internal Thread Of m22*1.5mm, Elliptical Ball Head At The Right End Of The Part. From The Above Dimensions, It Can Be Determined That The Axially Machined Dimension Of The Part Should Be Based On The Left End Face.
Selection Of Positioning Datum
(1) Coincidence Of Benchmarks;
(2) Unification Of Benchmarks;
(3) Easy Clamping;
(4) Convenient Tool Setting.
According To The Selection Principle Of Positioning Datum, The Non-Coincidence Error Is Avoided, And The Programming Is Convenient. The Design Datum Of Working Procedure Is Used As Positioning Datum. The Left End Of The Part Is a Cylinder Of 44 And The Right End Is An Elliptical Ball Head. When Processing The Part, The Left End Of The Part Is Processed With The Right End Of The Worn Outer Cylinder As The Positioning Datum, And The Right End Of The Part Is Processed With The Cylinder Of 44 As The Positioning Datum. Three-Jaw Automatic Centering Chuck Is Used To Fix And Locate Parts. The Axially Positioning Datum Of The Part Is Selected At The Left End Of 44 Cylinder Section.
Machining Tools
In The NC Turning Of This Part, Carbide Kr=90 Cylindrical Turning Tool Is Used, With The Auxiliary Deflection Angle Of 60, And The Chip Breaking Property Is Good. Carbide Cylindrical Turning Tool Is Used In The Middle Cone Of The Part, And The Radius Of The Tool Tip Arc Is 0.2 Mm. The Cylindrical Groove Part In The Middle Of The Part Uses a Grooving Cutter With a Width Of 8 Mm. The Internal Threaded Turning Tool With The Width Of Tool Handle 15 Mm Is Used In The Inner Hole Part Of The Part. The Internal Slotting Turning Tool With The Width Of Main Cutting Edge 5 Mm And The Boring Turning Tool With The Width Of Tool Handle 15 Mm Can Meet The Processing Requirements.
Advantages Of Spindle
1, The Mandrel Keeps a Large Contact Surface With The Hole And Has a High Positioning Accuracy.
2, The Elastic Deformation Of Spring Sleeve Is Used To Fix The Workpiece, And The Positioning Accuracy Is High.
3, Fitting Clearance Of Positioning Surface Affects Positioning Accuracy.
4, Using Pascal’s Principle, The Thin-Walled Sleeve Can Be Elastically Deformed And Centered To Clamp The Workpiece, With High Positioning Accuracy And Coaxiality Up To 5 Microns.
5, It Can Reduce The Clamping Deformation Of Thin-Walled Sleeve Workpiece And Improve The Processing Accuracy.
6, The Location Interference Of 0.002mm Can Achieve Extremely High Positioning Accuracy.
The Process Card Is Shown In The Following Table:
| Machinery Factory | Cnc Machining Process Card | Product Name Or Code | Part Name | Part Call Sign | |||||
| Internal Thread Deep Groove Elliptical Ball Head Mandrel | |||||||||
| Process Number | Programming Number | Fixture Name | Fixture Number | Use Equipment | Workshop | ||||
| p0130/p0140 | Three-Claw Automatic Centering Chuck | Cnc Lathe | |||||||
| Step Number | Work Step Content | Machined Surface | Tool Number | Tool Specification | Spindle Speed
r/Min |
Feed Rate
Mm/Min |
Back To EatMm | Remarks | |
| 1 | b-Shaped Center Hole At The Left End Of The Part | Left End | t0 | b=2.5 | 475 | 120 | |||
| 2 | Drilling The Left End Of The Part | Left End | t1 | φ20 | 475 | 120 | |||
| 3 | Roughing Part Left End Shape Trajectory | Outer Cylindrical Surface | t2 | Kr=90 | 475 | 120 | Ap=2.0 | Rough Car | |
| 4 | Roughing Part Right End Contour Track | Outer Cylindrical Surface | t2、t3、t4 | 475 | Ap=2.0 | Rough Car | |||
| 5 | Roughing The Left End Of The Part | Bore | t5 | 475 | Ap=2.0 | Rough Car | |||
| 6 | Finished Part Left End Profile Track | Outer Cylindrical Surface | t1 | 600 | Ap=1.0 | Finishing Car | |||
| 7 | Finished Part Right End Profile Track | Outer Cylindrical Surface | t2、t3、t4 | 600 | Ap=1.0 | Finishing Car | |||
| 8 | Finished Part Left End Hole | Bore | t5、t6、t7 | 600 | Ap=1.0 | Finishing Car | |||
